Fundamentals
Export Targets
Code Export
Patcher UI
Special Topics
RNBO Raspberry Pi OSCQuery Runner
Raspberry Pi Setup
The Raspberry Pi Export target allows for RNBO patches to be exported from RNBO directly to a Raspberry Pi device via a shared network.
To install, download the provided run-ready image, unzip it, and flash it to a micro SD card with image writing software. Any image writing software will work, however, we suggest the Raspberry Pi Imager, which allows for setting up the WiFi network , the Pi's name, and a password for ssh'ing into the Raspberry Pi at the time of flashing.
Directions with Raspberry Pi Imager
With the formatted SD card connected to the machine, open the Raspberry Pi Imager.

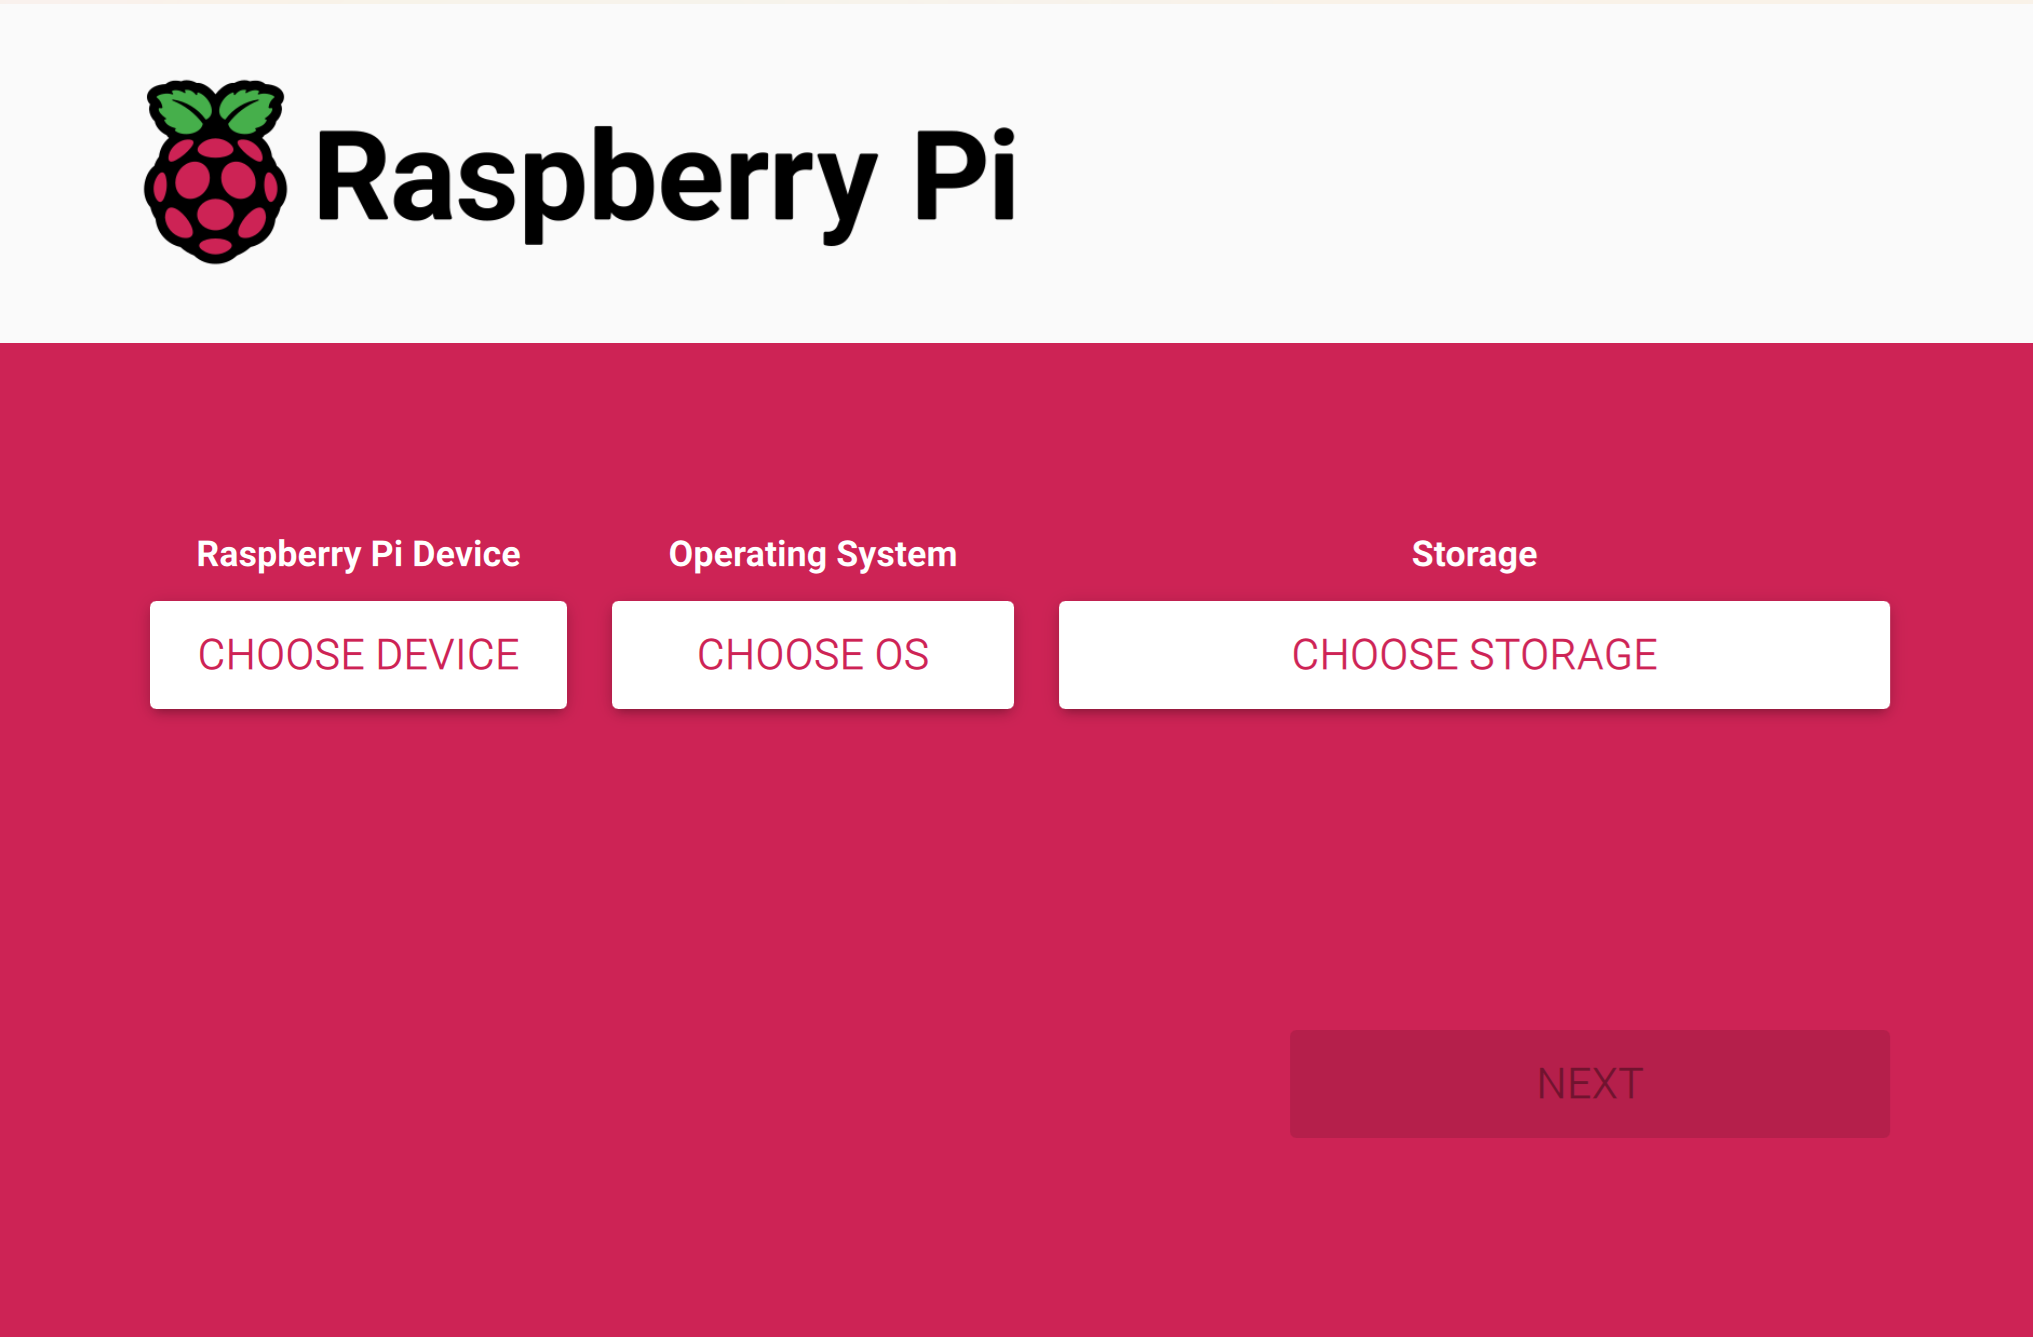
Select Choose OS and scroll to the bottom where it says use custom . Browse to where the Debian image was unzipped to and select open (if it doesn't appear in the browser folder in the dialog, make sure all files is set for filetype.)
Navigate to Choose Storage and select the SD card drive.
A prompt will appear after the Next button is selected to edit the configuration settings.

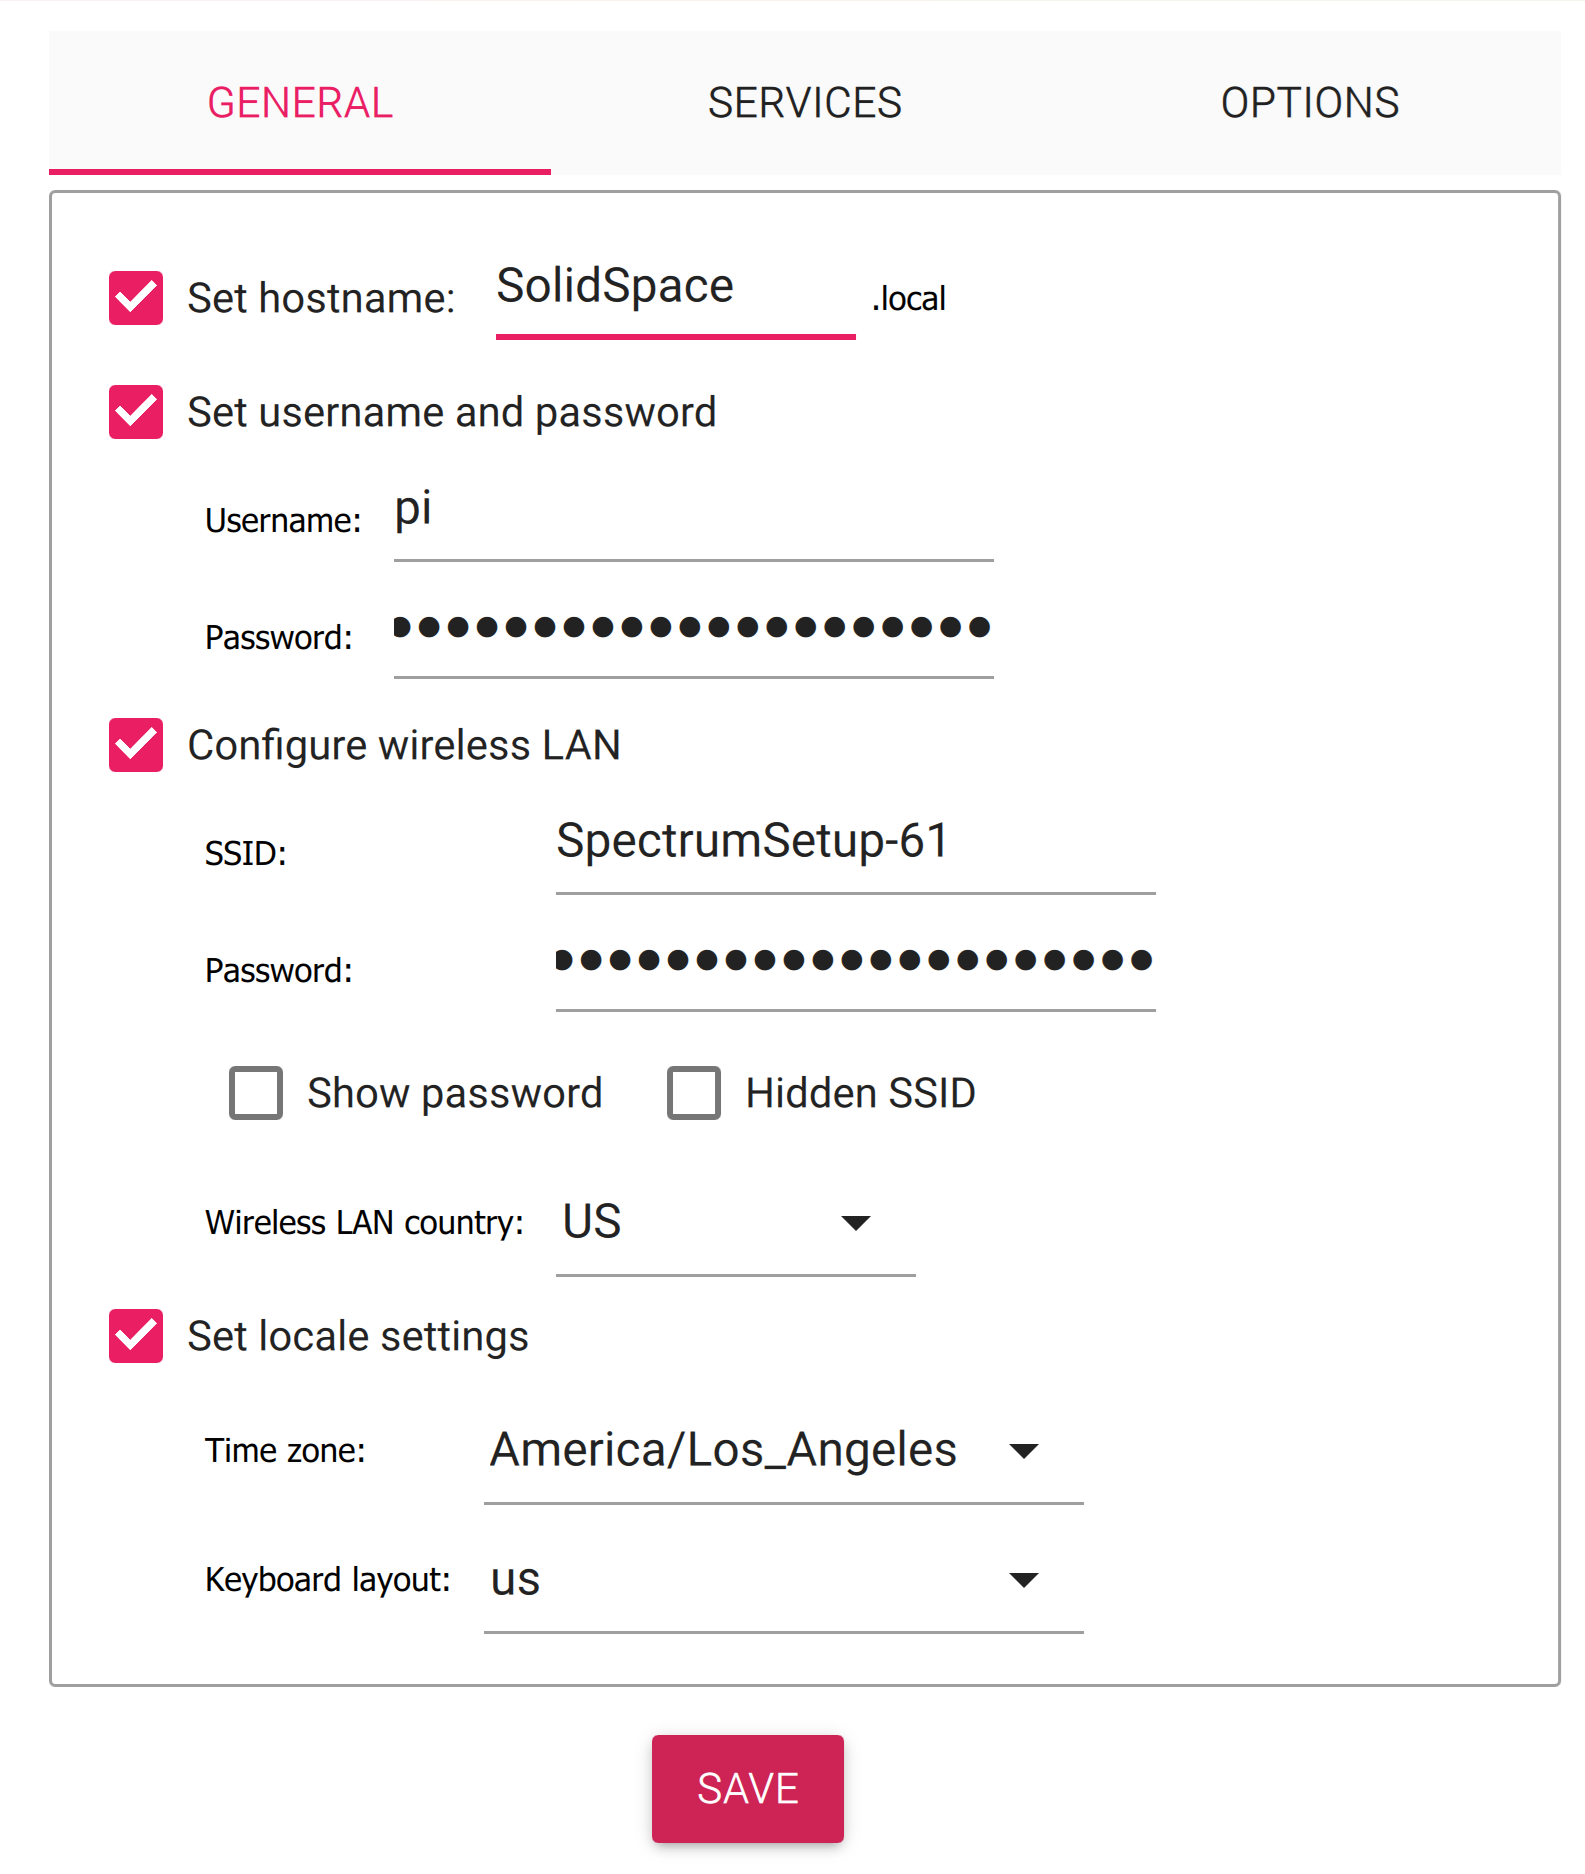
The hostname for the Pi can be set, which will be the name of the Raspberry Pi. If no name is set, the name will default to c74rpi.
It's important you do not edit the Username field, as this needs to stay the default provided username: pi. You can choose a password however. Make sure the Enable SSH box is checked under the services tab for changing the settings via ssh.
Enable WiFi by checking the box for Configure Wireless Lan and fill in the SSID, the associated Passphrase, as well as the Timezone.
Next, save your settings and select Write to start flashing. Once the Raspberry Pi image has been written to the SD Card, eject the SD card and place it into the Pi.
Connection and configuration
When RNBO detects one or more RNBO-ready hardware devices on the shared network, they will appear under the Devices section in the Export Sidebar. Double-clicking the named device opens the device configuration window, which displays some information about the remote device and available export configuration options.
NOTE : If you are opening RNBO for the first time after using the Raspberry Pi Imager to write the image, you may need to wait a few minutes for the device to show up in the Export sidebar.
In the case that the named Pi is not on WiFi or a WiFi network was not set up when flashing the image, an ethernet cable from the machine to the Pi can be connected via a CAT6 cable. This will establish a local connection between the two devices.
For exporting configuration , the Raspberry Pi Target Export Overview Guide highlights all of the features of the Export Target.
Further Configuration with SSH
Logging into the Pi
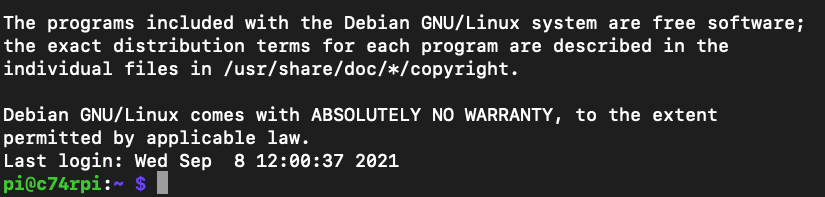
With the Pi powered up and connected to the same network as your PC/Mac, you can use secure shell (SSH) to log in and change settings on the Raspberry Pi. On Windows, an SSH client like PuTTY or OpenSSH. will work. On MacOS, ssh comes preinstalled and can be accessed directly from Terminal. For Windows open up Command Prompt. In either case, type
ssh pi@c74rpi.local
to connect to the Raspberry Pi over SSH. This assumes that hostname is c74rpi. Unless you set your own login password when flashing your Pi, the default password is c74rnbo.

WiFi/Ethernet Connection and Hostname
Depending on which image is running on the Pi, the steps for setting up the connection via WiFi/Ethernet and setting the Pi's hostname may be different. With the introduction of the most recent image for RNBO 1.3.0. setup requires that you log in to the pi via the directions above and run The Network Manager TUI via sudo nmtui. Previous images will also require login, but you will need to run the Configuration Tool via sudo raspi-config.
Current image 1.3.0 and greater
The Network Manager is the simplest way to configure connection to the Pi, whether via Ethernet or Wi-Fi.
After logging in, run sudo nmtui to activate the Network Manager. You should see a window like this one:

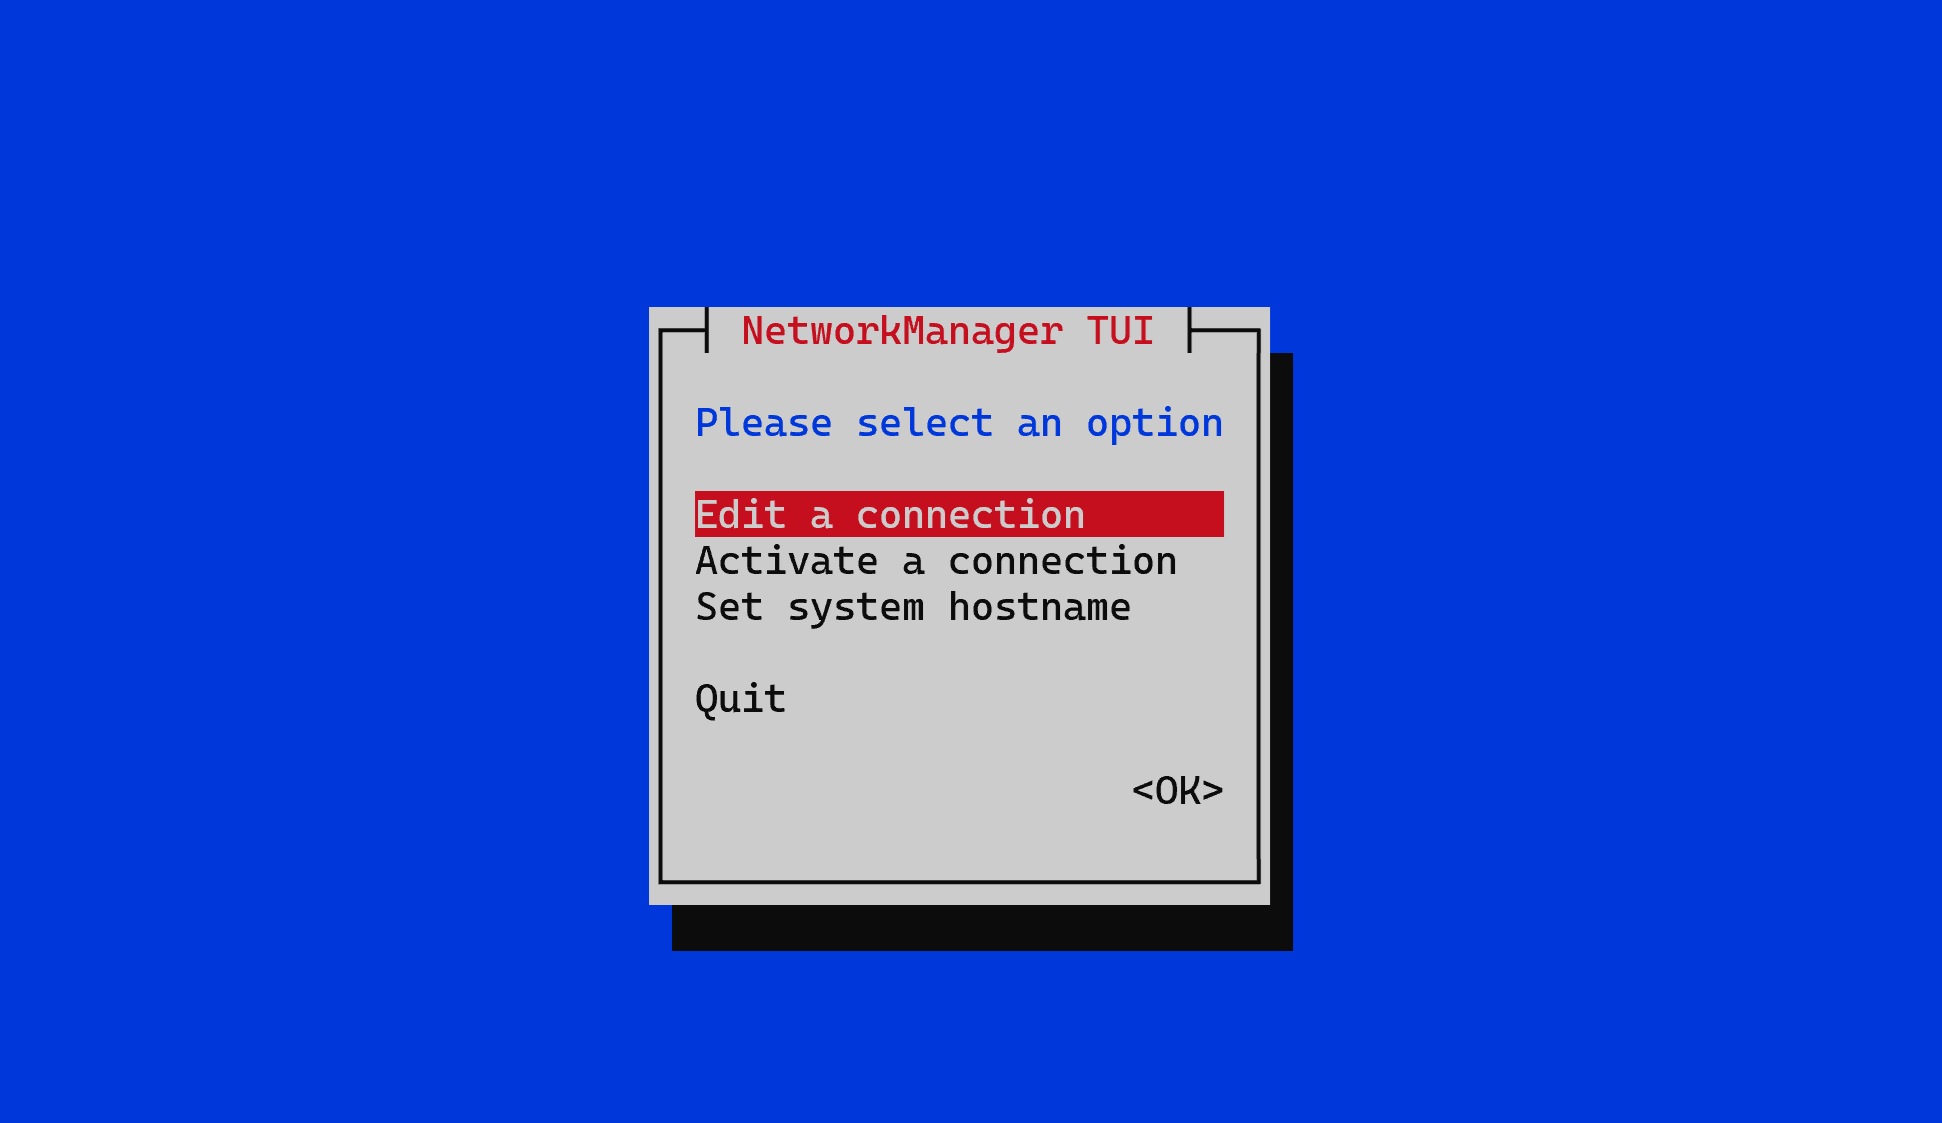
From here use the wizard to Activate a Connection and select the Wi-Fi network. You will be prompted to enter the password.
Once a connection is added (like the Wi-Fi network in my example), you can choose Edit a Connection to change the security, password or set a static IP Address.
To set a hostname for your Pi, run sudo nmtui and select Set System Hostname.
For instance: c74rpi-yourinitials
This will prevent hostname conflicts from occurring when working with multiple devices on the same network: Make a note of the hostname somewhere, especially in the case of having several Pi's on the same network.
Image 1.2.4 and previous images
If the image is running 1.2.4. or previous, the Raspberry Pi Configuration Tool will need to be accessed.
To access, log in and run sudo raspi-config . Go to System Options and select Hostname to change the hostname.
For instance: c74rpi-yourinitials

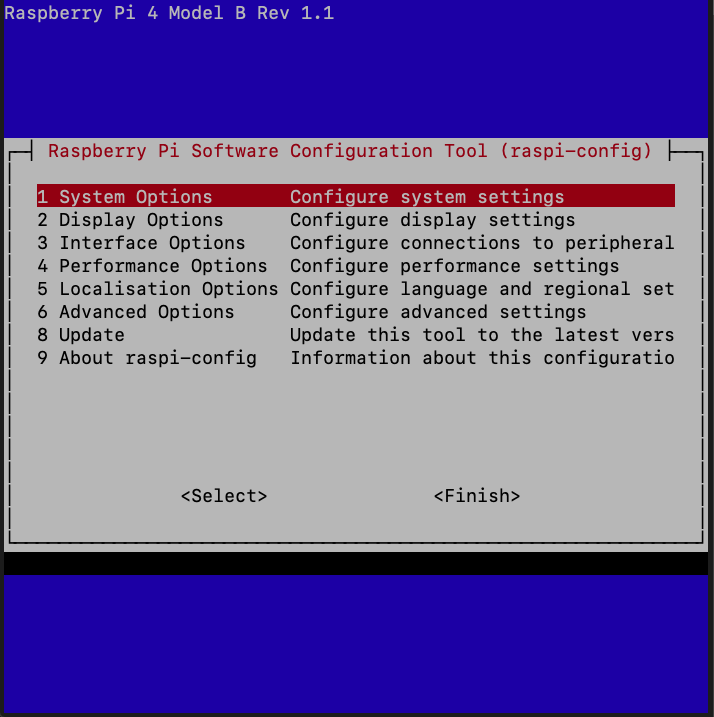
To set up the WiFi from he same configuration menu, Go to System Options and select Wireless LAN then enter the SSID and passphrase. Now when the Pi boots up, it will connect to the WiFi address automatically.

